Field guide · Underwater color
Underwater Photography for Beginners: Where to Start
A beginner's guide to underwater photography — buoyancy first, choosing gear in the right order, light, composition, the mistakes to avoid, and simple editing.
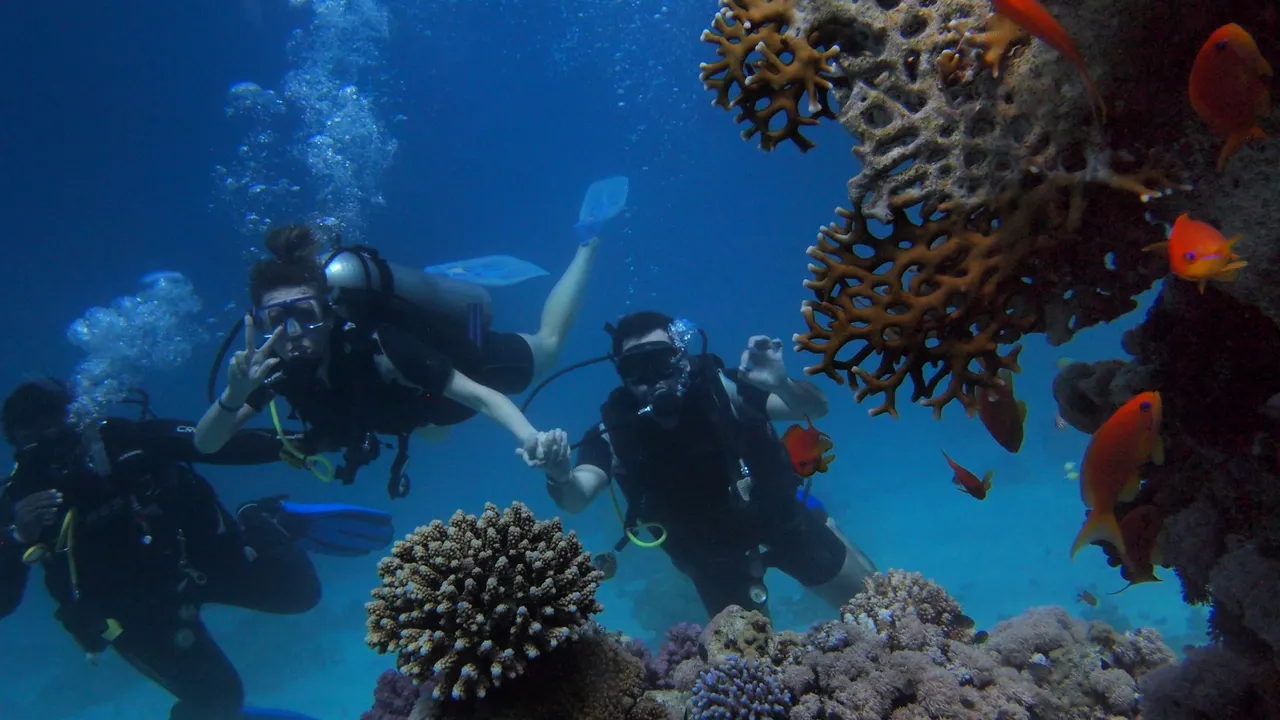
You passed your Open Water course, brought a camera on your next dive, and everything came back blurry and blue-green. Almost everyone does this — underwater photography is genuinely its own skill, and it has little to do with how you shoot on land. The good news is that the path from blue mush to keepers is well worn, and most of it is about what you practise and where you point, not what you spend. Here is the honest beginner’s route.
First, master buoyancy — before the camera
This is the step people skip, and it is the most important one. A camera in unstable hands is worse than no camera: you scull with your fins to stay put, kick the bottom, stir clouds of sand into the frame, and blow bubbles across your own shot — and you cannot hold still long enough to compose or focus. If you cannot hover, you cannot photograph.
So get the fundamentals solid first. Test your weighting on the surface so you are not over-weighted, learn to fine-tune your depth with your breath alone — inhale to rise, exhale to sink — and practise hovering motionless over a patch of reef without using your hands, then adjusting your body position while staying neutral. A reasonable rule of thumb is to be comfortable and stable for around 20 dives before you add a camera to the mix. The camera only amplifies whatever your buoyancy is doing.
Choose gear in the right order
The instinct is to buy the most capable camera you can afford. Resist it — the right camera is the one that matches your diving now, and there is a natural ladder:
- Phone in a waterproof housing. The cheapest way in. An old phone plus a photo app and a dive housing is plenty to start; a housing with working underwater touch controls is best.
- Action camera and housing. A GoPro or DJI Osmo Action (with a solid housing, ideally a CNC metal one) is small, tough, and shoots great wide video. See our GoPro and DJI Osmo Action guides.
- Waterproof compact, housing, and a light. A camera like the OM System TG-7 is the macro king and the natural first “real” underwater camera — its image quality and control leave an action camera behind.
- Mirrorless or DSLR, housing, and a strobe. The professional end: freely adjustable white balance from RAW, macro and wide-angle covered, and the biggest budget and weight. For people who know they want to go deep into it.
A sensible progression is a phone or action camera for your first 0–20 dives, a compact like the TG-7 from roughly 20–50, and an interchangeable-lens system beyond 50. Browse the full camera guides to compare.
Understand light — it is everything underwater
Water absorbs light by wavelength, and it starts with the warm colors: red is roughly half gone by 4 metres, orange by about 7, yellow by 10, and by 30 metres almost nothing but blue is left. That is why your photos go blue — not because the camera failed, but because the red light was absorbed before it ever reached the lens. Our guide to why underwater photos look blue covers the science in full.
There are three ways to put the color back, in rough order of cost and effect. Shallow natural light is free — inside about 5 metres with good sun, get close and there is still plenty of warm color. A red filter is the cheap next step, offsetting the blue-green cast on natural light, and it is close to essential on an action camera. A video light is the most effective of all and the one to buy first as a beginner: a constant light is what-you-see-is-what-you-get, so you judge color and exposure before you shoot, and it restores true color rather than approximating it. Buy the light before you buy a strobe.
Learn three composition rules
You do not need much theory to start. Three ideas carry most beginner shots:
- Find the angle. Place your subject against open blue water so it stands out with a clean outline, rather than lost against a busy reef.
- Get closer. Water absorbs light and suspended particles scatter it, so distant subjects lose color and detail and go hazy — move in and the frame turns clear and sharp almost instantly.
- Get the eye sharp. A sharp eye makes a photo feel alive; aim your focus at the eye before you press the shutter.
A quick mnemonic: for a creature or a diver, think angle plus a clean background plus a sharp eye; for a scene, angle plus a centred subject plus good light and shadow; for macro, closer plus centred plus a shallow depth of field. When you are ready to go deeper on all of this, our underwater macro photography guide breaks composition, angles, and focus right down.
Avoid the four beginner mistakes
Nearly every beginner makes the same handful of errors:
- Chasing fish. You will never out-swim a fish. Pick a good spot, hold still, and let it come to you.
- Forgetting the dive computer. It is easy to get absorbed and lose track of depth and time. Give yourself a hard rule — glance at your computer every ten shots or so.
- Camera shake. Water resistance and shaky buoyancy make blur easy. Keep your shutter no slower than about 1/125s, add light if it is too dark to do that, and steady your breathing before you press.
- Shooting from too far. Even in great visibility, distance kills a shot. Move in until it feels almost too close — and then take it.
Editing is simpler than you think
You do not need Photoshop. What you do depends on your gear. On a phone, an app like Snapseed or Lightroom Mobile will correct the white balance to kill the blue, add a little contrast, and sharpen — three taps. On an action camera, de-blue with a filter or in Lightroom, and take video into DaVinci Resolve for color. Shooting RAW on a compact or mirrorless gives you the most room: in Lightroom, click the white-balance eyedropper on a neutral grey area — sand or a rock — and the blue-green cast usually snaps back to normal in one move. That eyedropper trick is the universal beginner shortcut.
But hold onto the mindset that matters most: getting it right in the water beats editing tenfold. Being close, steady, and well-lit on the dive gives you a file that needs a nudge, not a rescue. Our guides to the best underwater photo editor and how to restore underwater photos cover the tools, and our app JellyFix does the color correction in one tap on your phone.
The priority order that ties it together
If you remember nothing else, remember the order of what matters:
- Buoyancy > gear. Get stable before you worry about the camera.
- Light > camera. Your first spend should be a light, not a fancier body.
- Closer > zoom. Moving in beats zooming in, every time.
- Getting it right > editing. Nail it on the dive and post-processing is a light touch, or none at all.
Get those in order and you will improve faster than any gear upgrade could take you. When you are ready for the next step, the underwater macro photography guide and the camera guides are where to go from here — and you can see what good color looks like in the before-and-after gallery.
Field notes
Frequently asked questions
How do I start underwater photography?
Do I need good buoyancy before shooting underwater?
What camera should a beginner use underwater?
Why do my underwater photos look blue or green?
Should a beginner buy a video light or a strobe first?
What is the most important underwater photography tip?
Do I need to edit my underwater photos?
Underwater color science
Continue Learning
Why Underwater Photos Look Blue
The science of how water steals warm color with depth — the reason your shots go blue.
Read moreOM System TG-7 Underwater Guide
The natural first 'real' underwater camera — modes, macro, settings, and housing.
Read moreUnderwater Macro Photography
Go deeper on composition, angles, and getting the eye sharp on small subjects.
Read moreHow to Restore Underwater Photos
Every way to bring natural color back, from in-camera technique to AI.
Read moreBest Underwater Photo Editor
Compare Lightroom, Photoshop, Capture One, and AI editors for underwater work.
Read more