Field guide · Underwater color
GoPro Underwater Color Correction (Complete Guide)
How to get real color from a GoPro underwater: Protune settings, why a red filter matters, shooting technique, and the best ways to restore your photos.
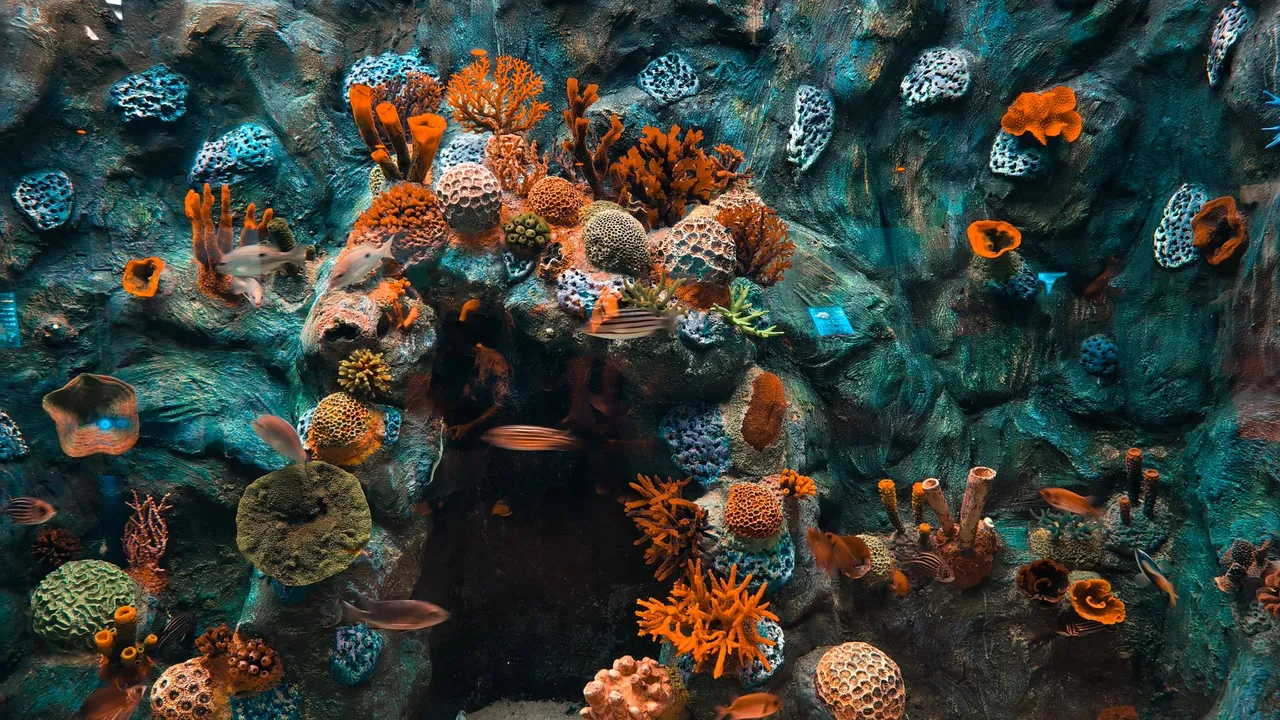
Ask a hundred divers which camera they first took underwater and most will say a GoPro. It is small, tough, waterproof, and cheap enough to risk on a reef. Then the footage comes back, and the reef that glowed in person is flat, cold, and blue — or a murky green — no matter how bright the day was.
This is normal, and it is not a fault in the camera. Water strips warm color out of light before it ever reaches the sensor, so your files arrive with the cast already baked in — the full explanation is in Why Underwater Photos Look Blue. What is worth knowing up front is that a GoPro leans on you more than some cameras do. Its small sensor and fixed ultra-wide lens are built for durability, not low-light color, and its automatic white balance can only do so much once the red is gone. That puts more of the work on three things: a red filter in the water, the right settings, and a color pass afterward.
This guide is for GoPro shooters specifically. It covers why the color disappears, the Protune settings that matter underwater, why a red filter is the single most useful accessory you can add, how to shoot cleaner footage, and how to restore what you already have. For the editing methods in more depth, our guide on how to restore underwater photos walks through each, and for the full gear setup — housings, filters, lenses, and lights — see our GoPro underwater guide.
Why GoPro Photos Lose Color Underwater
Sunlight is a full mix of colors, but water does not treat them equally. It absorbs the warm, long-wavelength end of the spectrum first, and the loss stacks up quickly with distance. NOAA has a clear explainer on how far light travels in the ocean, and the pattern shapes every shot you take:
- Red goes first. In clear water red is mostly gone within the first 5 meters (about 15 feet), followed by orange near 10 meters and yellow past roughly 20 meters. What is left is blue-green.
- Distance counts as much as depth. Every meter of water between the lens and the subject filters more color, so a fish three meters away loses more warmth than the same fish right in front of the port, even at the same depth.
- Depth reduces the color that is there to begin with. The deeper you are, the less warm light remains in the water at all, so there is less for the camera — or any edit — to recover.
- Blue water versus green water. Clear tropical and open ocean push the cast toward blue; coastal and plankton-rich water scatters light toward green and adds haze.
None of this is specific to GoPro — it is the water. But two GoPro design choices make it bite harder. The sensor is small, which means less to work with in the dim, low-contrast light below the shallows, and the lens is a fixed ultra-wide, so you cannot zoom in to shorten the water between you and your subject; you have to physically move closer. GoPro’s automatic white balance tries to compensate, but past a few meters there is little red left for it to boost, which is why footage keeps trending blue or green even with the camera doing its best. That is the honest starting point, and it is the reason a filter and a deliberate edit matter more here than on a camera with a larger sensor and stronger in-camera correction.
Best GoPro Settings for Underwater
Out of the box a GoPro is set up for easy, decent-looking footage. To get the most color and the most room to correct later, turn on Protune — the advanced controls hidden behind the default automatic mode — and set the ones below.
- White balance. The most important setting underwater. Protune lets you choose Auto, a fixed color temperature from 2300K to 6500K, or Native. In shallow, bright water, or any time you are shooting with a filter, Auto often does a reasonable job. As you go deeper without a filter, lock a fixed value and warm it toward the higher end of the range to counter the blue, judging it on the screen; there is no dedicated underwater preset. Native records a minimally processed file straight off the sensor and is meant for people who will grade afterward, not for footage you want to use as it comes.
- Color profile. Recent HERO Black models give you a choice of color rendering. Natural (called GoPro or Vibrant on older models) is ready to use and the right default for most divers. A Flat profile keeps more highlight and shadow detail for grading but looks washed out until you correct it. GP-Log, on the HERO12 Black and later, records a 10-bit log file with the most latitude of all — it needs a LUT or a manual grade to look right, so only reach for it if you edit every clip. If you do not grade, stay on Natural.
- Exposure. Lock it when you can. Setting exposure compensation, plus ISO and shutter where the model allows, keeps brightness steady as you move between bright shallows and darker water and stops the image hunting. Keep ISO low to limit noise in dim conditions.
- Resolution and frame rate. 4K is a sensible default; 5.3K on the flagship gives extra room to crop or stabilize. Use 50 or 60fps for smooth motion and slow-motion headroom, and drop to 24, 25, or 30fps in low light so more light reaches the sensor per frame. Match the base rate to your region — 25/50 or 30/60.
- RAW photos. For stills, enable RAW in Protune. A GoPro saves RAW as a .gpr file, based on Adobe’s DNG format, on the HERO5 Black and later, alongside the JPEG. RAW holds far more color information, which is exactly what you want when pulling warm tones back in editing.
- HyperSmooth. GoPro’s stabilization handles surge and finning well underwater. It crops the frame slightly and analyzes motion to work, so on slow, careful shots you can ease off the strongest mode. Backscatter’s complete GoPro HERO13 underwater settings guide is a good, current reference for dialing these in on the latest model.
Before you get in the water, check your depth rating. Recent HERO Black cameras are waterproof to 10 meters (33 feet) on their own — fine for snorkeling and shallow reef — and reach 60 meters (196 feet) inside GoPro’s Protective Dive Housing, which fits the HERO9 through HERO13. Third-party aluminum housings go deeper still. Seal every door and port before entering, and rinse the camera in fresh water afterward.
Red Filters: A GoPro’s Most Useful Underwater Accessory
Because a GoPro’s automatic white balance can only recover so much once red is gone, a red filter is the single most effective thing most GoPro divers add. Held over the lens, it cuts the overpowering blue-green so the warm tones that remain can show — using natural light only, no batteries required.
A few rules make filters work rather than backfire:
- Match the filter to the water. Red and magenta filters are made for different conditions — one for blue and tropical water, a different tint for green coastal water, and lighter versions for shallow depths. Filter systems such as FLIP and PolarPro mount on the front of the Protective Housing and let you swap between them across a dive.
- They only help where red survives. A filter restores color in roughly the top 5 to 20 meters, where some red light is still present to bring back. Below that there is nothing left for it to work with, and the image just goes dark and murky.
- Pair a filter with a matching white balance. Set Protune white balance to Auto, or to a fixed value that suits the water, so the camera and the filter pull in the same direction.
- Never use a red filter with a video light or strobe. This is the one firm rule. A light supplies full-spectrum white light, so the red is already there — add a filter on top and everything over-corrects into orange. Filters are for natural-light shooting; lights are for close and deep work. Use one or the other, not both.
If you shoot mostly on natural light in the top 15 meters or so, a filter matched to your water will do more for your color than any single camera setting.
How to Shoot Better Underwater Footage
Settings and filters help, but what you do in the water matters more than anything you do afterward. Every habit below puts more real color into the file.
- Get close, then get closer. The single most effective thing you can do, and doubly true on a GoPro because the lens is fixed and ultra-wide — you cannot zoom, so you have to move in. Less water between the lens and the subject means less color filtered out.
- Shoot in good visibility. Clear water scatters less light, holds contrast, and keeps color truer. When visibility is poor, close the distance further and keep expectations realistic.
- Add a video light for close and deep work. A light held near the subject puts full-spectrum light on it before the water filters anything, which is the only reliable way to get true reds for macro and anything below the range where red survives. Skip it in bright shallows where natural light is still strong — and remember, if you are using a light, take the filter off.
- Keep light off the water in between. Whether it is sunlight or a video light, any light hitting the column of water directly between the lens and the subject lights up suspended particles into a snowstorm of specks — backscatter. Angling a light out to the side is the usual fix.
- Shoot slightly upward. Angling up toward the surface puts more available light behind your subject and separates it cleanly from the background; shooting down at the seabed tends to look flat and dim.
- Accept what natural light cannot do. No setting or filter recovers a color the water has already absorbed. Past a certain depth and distance the red is simply gone, and the honest options are to get closer, add a light, or accept a bluer frame. Courses like PADI’s Digital Underwater Photographer teach this shoot-and-check discipline in the water.
How to Restore GoPro Underwater Photos
Even with a filter and good technique, most underwater footage benefits from a color pass afterward. The main routes, with their trade-offs:
- White balance adjustment. The foundation of every fix. Warming the image and correcting the green-magenta tint neutralizes most of the cast, and it works in almost any editor. On a badly washed-out shot, though, there is only so far it can go.
- Lightroom. The capable all-rounder. Temperature, Tint, HSL, and Dehaze handle GoPro files well, it reads the .gpr RAW format directly, and its batch tools apply one correction across a whole dive. The cost is a learning curve and a subscription.
- Photoshop. The specialist. Layers, masking, and healing tools fix what sliders cannot — treating a subject separately from its background, or painting out stubborn backscatter — but it is slow for batches and overkill for routine color work.
- AI restoration. The fast route. A tool trained on underwater images estimates the color the water removed and rebuilds a natural result, often in one step and across a batch. It works best when the photo still holds some color detail and cannot invent a channel that was never captured.
For a full breakdown of these tools and where each fits, see our comparison of the best underwater photo editor. Whichever you choose, white balance is the correction underneath all of them.
Using JellyFix
JellyFix is one AI option built specifically for underwater restoration. It is our own app, so rather than oversell it, here is where it fits for GoPro shooters and where it does not.
- Built for underwater color. Its model is trained on underwater images, so it estimates the warm color the water removed and rebuilds a natural result without you touching a slider.
- Runs on your phone. That suits how most GoPro users offload and review — pull the photos onto a phone and correct them there, no desktop needed.
- Works offline, on-device. You can restore images on the boat or at a remote lodge with no signal, and your photos never leave your phone.
- One tap, and batches. Open a photo and in most cases you are done, and it can process a whole dive so the set comes out consistent. It works on standard exports from a GoPro, including JPEG and HEIC.
Where it stops: JellyFix is a restoration tool, not a full editor. It has no layers, precise masking, or frame-by-frame control, and like any AI approach it recovers less from a badly washed-out shot than from one that still holds color. It is aimed at photos rather than a RAW grading pipeline. Plenty of divers use it for a fast first pass and reach for a desktop editor on the shots that deserve more. There are example results in the before-and-after gallery, and more about the app on the about page.
GoPro Editing Routes Compared
For restoring GoPro photos, here is how the three main editing routes compare on what matters most.
| Editor | Ease of Use | Time Required | Mobile Support | Offline Support | Batch Editing | Best For |
|---|---|---|---|---|---|---|
| Lightroom | Moderate | Moderate | Yes (mobile app) | Yes (desktop) | Yes | Full control and correcting a whole dive |
| Photoshop | Low (advanced) | Slow | Limited (iPad) | Yes | Limited | Detailed fixes and backscatter removal |
| JellyFix | Very high | Very fast (one tap) | Yes (phone) | Yes | Yes | Fast, dedicated restoration on your phone |
Conclusion
Good color from a GoPro underwater comes down to two things working together. In the water, put as much real color into the file as you can: get close, shoot in good visibility, fit a red filter matched to your water and set a white balance to suit, add a video light for close and deep work — filter off when the light is on — and enable RAW for stills. Afterward, correct what remains, whether that is a quick white balance pass, a full edit in Lightroom or Photoshop, or a one-tap AI restoration.
No single workflow suits everyone. A traveler reviewing clips on a phone will lean on fast, offline tools; someone building a portfolio will want the control of a desktop editor. If you also shoot a DJI camera, the approach differs because of its stronger auto white balance — that is covered in DJI Action underwater color correction. Try a few methods on your own footage and keep the one that fits your diving. For more on underwater color and technique, explore OceanDimana.
Field notes
Frequently asked questions
Does a GoPro have an underwater mode?
Why are my GoPro photos blue or green underwater?
Do I need a red filter for a GoPro underwater?
What white balance should I use on a GoPro underwater?
Does a GoPro shoot RAW photos?
How deep can a GoPro go underwater?
Can Lightroom fix GoPro underwater photos?
Does JellyFix work with GoPro photos?
Can AI restore washed-out GoPro footage?
Underwater color science
Continue Learning
Why Underwater Photos Look Blue
The science behind the blue-green cast, and why water steals warm color with depth and distance.
Read moreHow to Restore Underwater Photos
A walkthrough of every way to bring natural color back, from in-camera technique to AI.
Read moreBest Underwater Photo Editor
Compare Lightroom, Photoshop, Capture One, and AI editors to find the workflow that suits your diving.
Read moreDJI Action Underwater Color Correction
The same problem on a DJI Action camera, where a stronger auto white balance changes the approach.
Read more